 We did the master too. Edit: here's the "owed" pics:
  While we had a fresh batch of mortar going we decided to work on the river rock in the shower too. Here's Eric laying the mortar bed and a snippet of a finished portion:
 We definitely improved at this as we went along. The rocks come in perfectly square sheets on mesh backing, but naturally the dimensions don't perfectly match our shower basin. So the trick was to line up the squared sides on the straight edges of the basin, but cut away any one outer row of rocks that would be adjacent to another sheet of rocks (and do this with all sheets). Then you play jigsaw puzzle and fill in the spaces between sheets with individual rocks (that you cut off the mesh) that sort of free-form to fill the space. As you can see below, our very first row has a more noticable square in the center, whereas the middle and front are pretty indistinguishable:
Justen was here for a few hours today putting up door crowns. These two nicely frame the guest bath in and out:


3 comments:
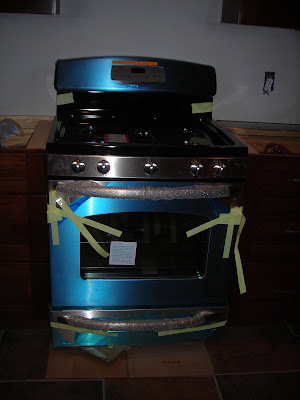
I have that same stove! I don't have the gas hooked up to it yet, but it's plugged in and I can tell what time it is!
Well, as you can tell by the plastic wrap we don't have it hooked up or even plugged in! But it's a nice "space saver" for the counter installation to be sure we're left with enough room to be able to fit it in there!
Great stove! I drool over gas stoves.
I think it would look really nice to continue the river rock up that first little bit...
Post a Comment